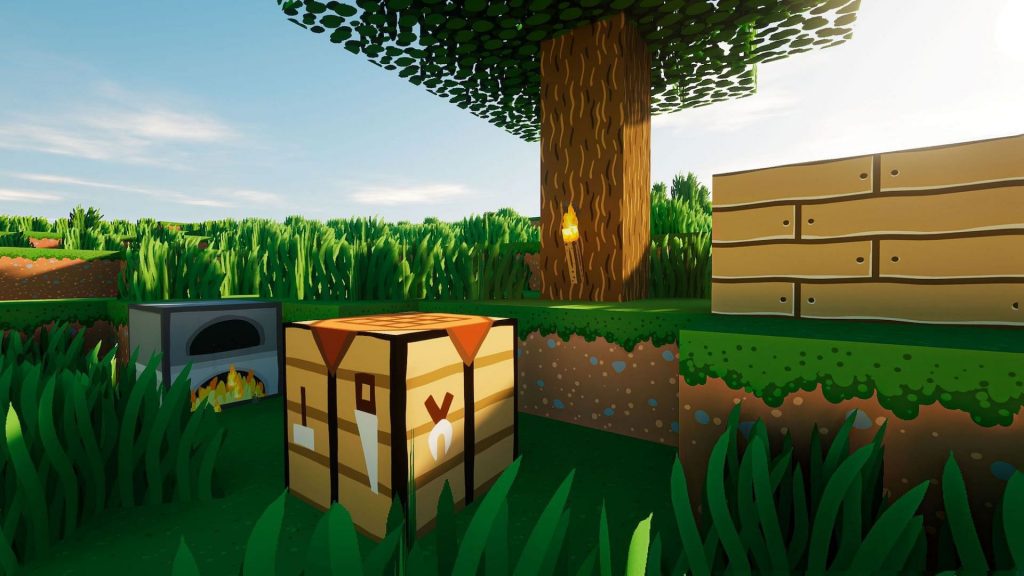
Adding a resource pack to your Minecraft Server opens new horizons in roleplaying and even enables you to rock new Minigames game modes, thus being a good way to bring in new players and retain them with the different styles of gameplay available.
There are a lot of pre-made resource packs that you can pick, and in this tutorial below, we will teach you how to find the right one for your server and how to install it.
Finding a resource pack
- Find a pack from an official website such as Curse Forge.
- Make sure that your resource pack is the right version for your server.
- Download the pack to your computer.
Uploading your resource pack
For this step, we’ll use Dropbox, which is an easy way of uploading files publically and getting a direct download link.
- Create an account and sign in to the Dropbox website.
- Click on the “Upload Files” button on the right panel.
- Locate your resource pack, select it, and click “Open“.
- When the file is finished uploading, click on the share button (Make sure your settings for the file are set to “Anyone with the link can see it” – If it is not set like this, players on your server will not be able to download it or even see it.
- Copy the link to your clipboard.
Installing the pack on your server
- Head to the game console and stop your server if running.
- Find your server.properties file and open it in an editor.
- Locate the line where it says “resource-pack”, and paste the link you copied from Dropbox next to it.
- If you used Dropbox, make sure you edit the 0 to a 1 at the end of the link.
- Save your changes and restart your server.
A common mistake when using Dropbox, is not editing the 0 to a 1 at the end of the line. If you forget this, players will not be able to download your pack, so make sure you do it.

